

...and turn it into this!

This was a project I've had the material to do for a while, but have been putting it off....because, quite frankly, it seemed a most intimidating task. My high school geometry teacher used to tell us when we were stuck on a problem, "when you don't know what to do, do do what you do know what to do." That's great advice to apply to almost any problem. When you start with what you do know, often the the next step becomes clear, and before you know it you're done!
Before beginning I gleaned some info from two different tutorials. Make it and Love it has a very detailed tutorial on how to completely remake your original car seat cover. I decided not to go this route. I didn't think I had the skill or the patience, and my car seat really needs to be replaced anyway after this baby is done with it. I did get some good tips on how to do the canopy from this tutorial though.
This tutorial at A Vision to Remember was the other one I looked at. She actually has a printable pattern. I don't have a working printer at the moment so I didn't use that. I liked her idea of a fitted cover to go over your existing seat cover, so that is what I did.
I started with a yard of home decor fabric and cut it in half. I sewed a 7inch strip of striped material through the center.

I then laid the fabric in the seat to make sure it was going to look the way I wanted.

I then flipped it so the backside of the material was facing out and laid it in the seat again. I started pinching the excess fabric into darts and pinning. I made two "V" shaped darts where the seat curves.

This is how it looks sewn. If there is still too much floppy fabric you can always make your darts larger.

I also did one straight across to hold the the nice "L" shape of the seat.

You will have a lot of excess fabric around the edges that now needs to be trimmed. Just follow the lines of your existing cover and cut it off. Make sure not to cut off too much, it is easier to trim than to add more.
There a couple of ways you could do the edges. You could hem and sew elastic to the fabric or make a casing and thread the elastic through. I took a short cut and sewed quilt binding to the edges. This nicely finished the edges and created a casing for elastic in one easy step.

Thread the elastic through and put the cover on your seat. You need to mark where the belts need to come through and sew openings for them. I don't know the first thing about how to do a buttonhole, much less a two inch long one! I did a fake button hole by doing a tight zigzag stitch in a narrow rectangle shape and then carefully cut the slit in the center. I used fray check on them as well.

Now you have a cover!

Next up is the canopy.

The first thing I did was take all the plastic pieces out of it. There were the two larger pieces on the edges and then two plastic piping pieces in the center.

I just started at the front and figured out each section at a time. The first bit is that strip of blue which is the casing for the front plastic piece. I again decided to use the quilt binding for that.

Then I traced each section onto my material.

I cut two pieces of each section. I recommend folding the piece in half when you cut it out to make sure it is symmetrical.

The back section had a casing sewn to the underside for the back piece of plastic.

I just cut a strip of extra material for this.

I bonded the two layers of each section together with heat and bond. The first thing I sewed was the casing on the front and the casing on the back pieces. Make sure you hem the casings before you sew them on. I forgot so I had to use fray check on them.

Now I sewed the section together. I used bias tape in between the sections to make the casings for the plastic piping. Once you have it all sewed together, slide the piping in and you have something that looks like a canopy!


The inside doesn't look super tidy with all the raw edges though.

Go around all the raw edges with bias tape so it looks all neat like.

Make sure you close the ends of your piping casings shut but not the ends of the larger plastic casings. Don't run over your piping and break a needle like I did! Slide in the larger plastic pieces and attach the canopy to your seat.

It should stand up nice and sturdy, no sagging or drooping.
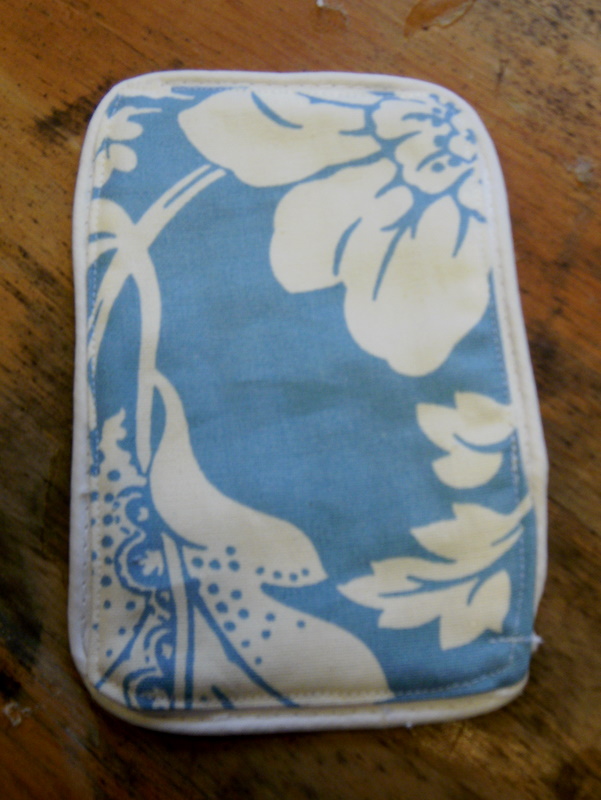
The last part of this little makeover is the car seat strap covers. I cut two 4inch by 6inch pieces of the floral fabric and two of some white terry cloth.

I sewed them together with piping in between. Don't look at my piping very closely, that's the first time I've ever used it and apparently there's a few tricks to it I don't know.
Since I am completely anti-all things Velcro when it comes to kids stuff (except for shoes, love it on shoes), I used snaps to close mine.

And now sit back and enjoy looking at all your hard work.


Maybe, just maybe people will get the drift that the baby is a girl. I know its blue, but really. I always got asked if my first daughter was a boy because of the blue seat...didn't matter that she was decked out in pink most of the time! I wish I had thought to make this back then! Maybe the flowers will be a big enough hint.
Just as a side note, I know a lot of people feel very strongly about sewing things for car seats. If you make this you do so at your own risk. Read your car seat warranty and only do what you feel is best for you and and your baby.
Linking to:
Hi Abby,
ReplyDeleteYou did a fantastic job! two thumbs up! I love your fabric choice too. You sweet baby girl will be sitting pretty in her new car seat, designed by her very creative Mommy!
Have a sweet day and hugs, Elizabeth
LOVE IT. great job.. awesome tutorial. thank you!!!!!
ReplyDeleteOh my gosh! That car seat looks AWESOME! I wish I was brave enough to do that! Visiting from Justsewsassy.com
ReplyDeleteThank you so much for this tutorial. I have been wondering how to do these and it might be nice for my next baby especially if it is a girl since I have a little man now. I am visiting from the sew much ado linky party. Come and say hi. I am doing a really fun giveaway next week too :)
ReplyDeleteA mommy's life...With a touch of YELLOW
tyandwhitneyulrich.blogspot.com
It's gorgeous! What a huge undertaking. I love it!
ReplyDeleteThank you so much for linking up to Sew Woodsy. I just wanted to let you know that I featured your project today. Please make sure you stop by and grab a featured button and also link up any other new craft projects you've been working on!
ReplyDeleteKatie aka Mrs. Woodsy
Just saw on pinterest! It's super cute, but did you know it is prohibited by the manufacture of all car seats? Therefore, illegal to use. Which also voids the warranty on your seat, making it not guaranteed to protect your little baby! So while it is super cute, it's also dangerous and I wouldn't want anything bad to happen!
ReplyDelete