White spray paint. Besides food and fabric, I do believe it is the most purchased item in this household. I love white, and I love spray paint. What a lovely combination. If you've been reading this blog for any time, you've seen me post about my wall of white. My only criteria for things to hang on it, is that it be something that captures my imagination, and it's pretty to look at. Enter my latest thrift store finds...
These three little mirrors had lovely frames that were just begging to be freed from that awful gold finish. I used white spray paint, and black glaze to achieve this particular finish.
Next up, I found this completely awesome ship wall hanging, which also received a nice coat of white paint. It makes me think of books I love, like Treasure Island and Moby Dick. It does have a few broken spots, but I don't mind them. It makes it seem more like a real ship that's been beaten by a storm or something.
I repainted a clock I had with a deer head (gotta include something manli-ish for the mister's sake!), and spray painted a few other little things to add to my collection.
Here it is all hung up with my previous collection.
I really do love my little wall. Its very eclectic, but I still feel it works together nicely.
I'm not sure what I'll do when my wall gets too full to add more...spread to the roof maybe? Ha! Kidding! What's your favorite little spot to look at in your house?
Philippians 4:6 Be careful for nothing; but in every thing by prayer and supplication with thanksgiving let your requests be made known unto God.
▼
Monday, April 30, 2012
Friday, April 27, 2012
Friday Favorites - A Black and White Situation

My Fair Lady via Pinterest
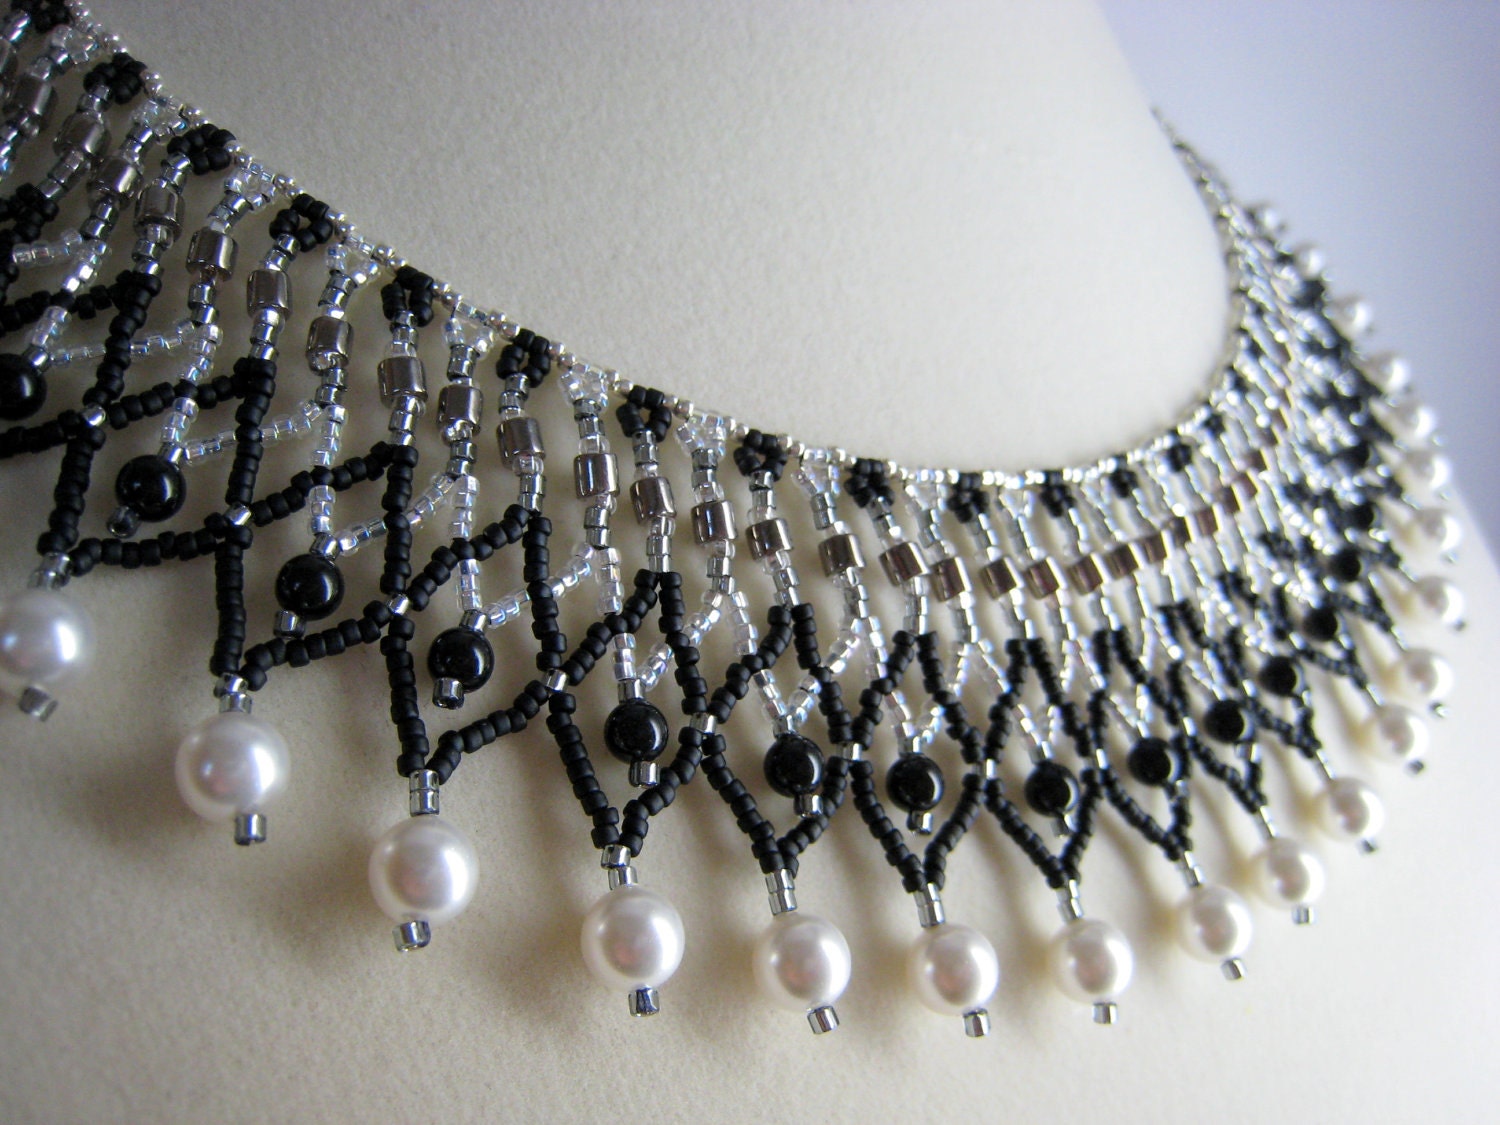
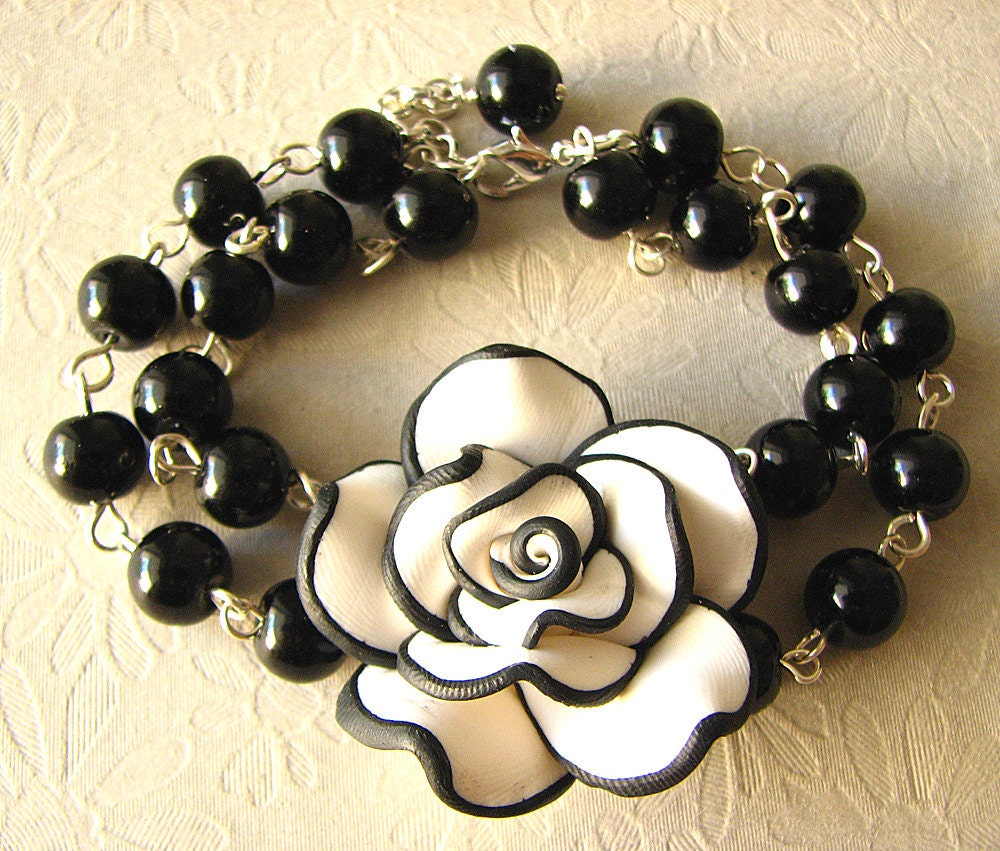
Black and white is far and away my most favorite color combination. It never goes out of style, it always looks crisp and top notch. I like to look at it, because it is soothing. I like to decorate with it, because it looks clean. I can add to, and change out, any other color I wish, if I have a basic black and white foundation. I like to wear it, because its the fastest way to look put together without fussing. I can wear the same pieces over and over again, but completely switch up the look by using bright accessories or layering pieces.

Pinterest (original source?)

Pinterest (original source?)


Pinterest (original source?)

Pinterest (original source?)

Here is a few my own black and white projects.
Well, I just realized number 8 isn't exactly black and white...but I'm not going to redo that whole business just to take that picture out. It could be black and white if you wore white pants with it! =)
Black and white is just so simple. I really like simple. In an odd way, I see God in it. Either He is who He says He is, or He isn't. I believe Him, or I don't. I'm His child, or I'm not. We tend to really over complicate God, by adding in "maybe's" and "what if's". It really is just a black and white situation...either you choose Him, or you don't.
Well, so much for my philosophizing. Swing back around Monday for a bit more black and white goodness. I'll show you some new pieces I've added to my wall of white.
Do you have a pet color combination? Why do you like it so much?
Isaiah 1:18 Come now, and let us reason together, saith the LORD: though your sins be as scarlet, they shall be as white as snow; though they be red like crimson, they shall be as wool.
Wednesday, April 25, 2012
Sheer Top
This really and truly might be my most favorite shirt I've ever made. Its comfy, cute, and so easy to make its almost sinful.
I designed it for my Etsy shop, but don't kid yourself...I'll end up with a closet full for myself by the end of summer! This basic shirt can be made all sorts of different ways, but I'll show you how to do just this one for today. You will need some knit fabric, I used polyester interlock, and some sheer fabric.
Start by cutting the knit into a rectangle. You'll need to decide how long you want it, and how wide. I cut out the front and back at the same time by folding the fabric in half length wise, and then folding it again.
Next, you want to tailor it a bit by curving it in a half inch or so at the waist. I mark off 8 inches for my arm holes before cutting. That way, I'm sure I'm not cutting t0o high on the shirt.
Now, we need to cut the neck hole. For the back, I measure from the top corner over four inches and down three inches.
The front shirt's neckline gets cut 3 inches deeper.
At this point, you could sew the shirt as is and have a nice black shirt. We are going to have a little more fun with it though, by cutting the front of the shirt apart about nine inches from the top.
Using your cut out as your pattern, cut out the sheer fabric. I cut out the sheer about an inch and a half longer than the knit. The reason for this, is that the sheer will not stretch like the knit, it also needs to be serged along the hem to prevent fraying.
To sew it together, I first sewed the sheer to the knit to make the front of the shirt.
Sew the shoulders and sides just as you would normally.
Lastly, just hem all the openings. As I mentioned before, I serge the sheer section before hemming to finish off the edge.
See? Is that not the easiest shirt ever? It's the style I always use if I find myself in a pinch for needing something to wear. ( Translation: Abby has 13 outfits piled on the bed, has a boo-hoo fit about liking none of it, and traipses off an hour before needing to leave to go somewhere to make something new. Please tell me I'm not the only one who does that!) Just by way of illustration, here are just a few variations of the same cut out.
Oh yes, I didn't mention it, but it works just dandy for dress making as well. Dresses need a just a tad more fussing to account for the hips, but overall it's just the same.
I don't mean to make it sound like sewing in real sleeves is difficult, its not at all! This just eliminates that step, making this super time efficient. Have fun sewing!
Psalms 103:8 The LORD is merciful and gracious, slow to anger, and plenteous in mercy.

linking to:
Laugh, Love, and Craft
Tea Rose Home
Sew Much Ado
Your Whims Wednesday
Someday Crafts
Sew Woodsy
Freckled Laundry
My Simple Home Life
Between Naps on the Porch
Singing Three Little Birds
The Southern Institute
Brassy Apple
Suger Bee Crafts
Not Just a Housewife
Confessions of a Stay at Home Mom
Home Stories A to Z
Tuesday, April 24, 2012
Random Information Day - DIY Baby Food
Ick. I hate change, do you like the new blogger set up? I suppose I'll get used to it. Anyway, so here is a totally random and non-crafty post for you. Do you have a baby? Does your baby eat? Mine does, mostly paper, bugs, leaves, and any other non-edible tidbit she can get her chubby little fingers on...but I do try to get actual nourishment into her little self on a daily basis. Here's how you can make your own baby food!
Nothing complicated here...Start with your cooked veggie of choice, puree it, pour it into freezer trays, freeze it, and then seal the cubes in labeled Ziploc bags in the freezer. I've not priced it out to the penny, so I don't really know if it is cheaper than buying baby food. I don't see how it couldn't be cheaper, because a squash like I did here, only costs a few dollars. It makes enough squash cubes to last a good little while. I like doing it this way, because I like to know exactly what I'm feeding my kiddo. It's the real deal, so later when I'll plop that same squash in non-pureed form onto her plate, she'll have no issues eating it.
The little cubes are a handy size for the small portions babies eat. When I'm going out, I just toss a few cubes in a small Tupperware container and take them with me. They are normally melted by the time I need them. I've also done this exact same thing with cooked chicken, I just added a bit of water to thin it out.
As you know, cooking is not my thing in the least, but even I find this to be a pretty manageable task. =)
Nahum 1:7 The LORD [is] good, a strong hold in the day of trouble; and he knoweth them that TRUST in him.
Nothing complicated here...Start with your cooked veggie of choice, puree it, pour it into freezer trays, freeze it, and then seal the cubes in labeled Ziploc bags in the freezer. I've not priced it out to the penny, so I don't really know if it is cheaper than buying baby food. I don't see how it couldn't be cheaper, because a squash like I did here, only costs a few dollars. It makes enough squash cubes to last a good little while. I like doing it this way, because I like to know exactly what I'm feeding my kiddo. It's the real deal, so later when I'll plop that same squash in non-pureed form onto her plate, she'll have no issues eating it.
The little cubes are a handy size for the small portions babies eat. When I'm going out, I just toss a few cubes in a small Tupperware container and take them with me. They are normally melted by the time I need them. I've also done this exact same thing with cooked chicken, I just added a bit of water to thin it out.
As you know, cooking is not my thing in the least, but even I find this to be a pretty manageable task. =)
Wednesday, April 18, 2012
Peter Pan Collars - Variations
Peter pan collars, do you love them, or do you hate them? See, I like them, but I can't wear them. I think I look like a Pilgrim...not that I have anything against Pilgrims, they were fine folk. I just don't do a whole lot structure in clothes I like to wear or clothes I like to make. I like things flowy, ruffly, breezy and easy to wear.
Here is your basic peter pan collar.
Here is a lovely color blocked version.
Here is the same thing on a maxi dress, also available in my shop.
While I do like the doubled up version, I think I'd like to try it as just a wide single ruffle. I think taking a concept and working it into your own style is a fun way to stretch your imagination a bit.
Have a great rest of your week!
1 Corinthians 10:13 There hath no temptation taken you but such as is common to man: but God is faithful, who will not suffer you to be tempted above that ye are able; but will with the temptation also make a way to escape, that ye may be able to bear it.
Here is your basic peter pan collar.


Here is a lovely color blocked version.


This one is scalloped, which I quite like.


I compromised my like for peter pan collars by morphing it with a non-structured ruffle collar. I also doubled it just for fun. Here is a lace tank top I did for my Etsy shop with my ruffled up, non-structured version.
You can do this quite simply by curving the end of your ruffle strip into a point like so.
You just have to make sure you cut it so that when the right sides are facing out, both ends meet correctly with the points on top.
Have a great rest of your week!
1 Corinthians 10:13 There hath no temptation taken you but such as is common to man: but God is faithful, who will not suffer you to be tempted above that ye are able; but will with the temptation also make a way to escape, that ye may be able to bear it.
Monday, April 16, 2012
Elastic and Tank Tops
Welcome to a new week! I hope you had a grand weekend! I don't have a full blown tutorial today...just a little tid-bit that you might find useful. I made two new tank tops last week to put into my shop.
I sewed the extra "ruffle" onto the shirt first. Then I sewed as if I was top stitching, but I had the cording sandwiched in between my pressure foot and the seam.
You just have to make sure that you sew the end really securely before you begin. After you are done, you pull the cord as tight as you want it to be, and sew down the other end.
I really think it feels softer to wear against the skin. It does what I need it to do, but it doesn't feel hard or constricting at all.
One other random tip I'll just throw out, if you sew on satin type fabric like this, it reeeeaaaally helps to use a nice sharp needle. I normally sew on knits, so I had my machine set up for that. I kept snagging the fabric until I realized my needle was the problem.
Have you ever used cording? What did you do with it? Any tips you'd care to share?
Isaiah 12:2 Behold, God is my salvation; I will trust, and not be afraid: for the LORD JEHOVAH is my strength and my song; he also is become my salvation.

linking to:
Between Naps on the Porch
My Girlish Whims
Sew Much Ado
Someday Crafts
I did something a little different with these, that I have not tried before. The neckline on these is elasticized, but instead of the traditional casing and elastic, I used cording.
You just have to make sure that you sew the end really securely before you begin. After you are done, you pull the cord as tight as you want it to be, and sew down the other end.
I really think it feels softer to wear against the skin. It does what I need it to do, but it doesn't feel hard or constricting at all.
Have you ever used cording? What did you do with it? Any tips you'd care to share?
Isaiah 12:2 Behold, God is my salvation; I will trust, and not be afraid: for the LORD JEHOVAH is my strength and my song; he also is become my salvation.

linking to:
Between Naps on the Porch
My Girlish Whims
Sew Much Ado
Someday Crafts
Friday, April 13, 2012
Easy Pant Refashion
Yesterday, I kept thinking it was Friday all day...today I can't seem to remember that it's Friday at all. Hence the reason it is 5 PM, and I've just remembered to post something for today. Here's a quick little refashion that's guaranteed to make your weekend cooler and comfier. Grab a pair of jeans that's a tad ill fitting...not hard if you're tall like me. Every pair of jeans is slightly ill fitting.
These cost me $5 dollars at a consignment shop, so I wasn't the least bit worried about ruining them. I marked where the knee was, and where I wanted to shorten them too. I amputated them a few inches below that. I wanted the hem to be rolled, so that is why I didn't chop exactly where I wanted them to end up.
Next, I took them in a pinch along the side seam, just to straighten the leg out.
I serged around the bottom to keep them from fraying in the wash. Next, I rolled them up once and tacked them down at the side seams.
Lastly, I rolled them up a second time, without sewing anything. I pressed them with the iron and called it done. Easy, fast, and soooo much better for this lovely hot weather.
I was sort of thinking about throwing them into a bucket of bleach to lighten them up a bit. I don't really care for dark wash unless its really nice jeans. Have any of you ever bleached your jeans before? Did you like it? Do tell, pretty please!
Happy Weekend! =)
Proverbs 16:9 A man's heart deviseth his way: but the LORD directeth his steps.
These cost me $5 dollars at a consignment shop, so I wasn't the least bit worried about ruining them. I marked where the knee was, and where I wanted to shorten them too. I amputated them a few inches below that. I wanted the hem to be rolled, so that is why I didn't chop exactly where I wanted them to end up.
Next, I took them in a pinch along the side seam, just to straighten the leg out.
I serged around the bottom to keep them from fraying in the wash. Next, I rolled them up once and tacked them down at the side seams.
Lastly, I rolled them up a second time, without sewing anything. I pressed them with the iron and called it done. Easy, fast, and soooo much better for this lovely hot weather.
Happy Weekend! =)
Proverbs 16:9 A man's heart deviseth his way: but the LORD directeth his steps.


